Imaging options
Under the menu heading Drive operation, you can specify settings and set them as default for every new image by clicking Drive operation/Imaging options.
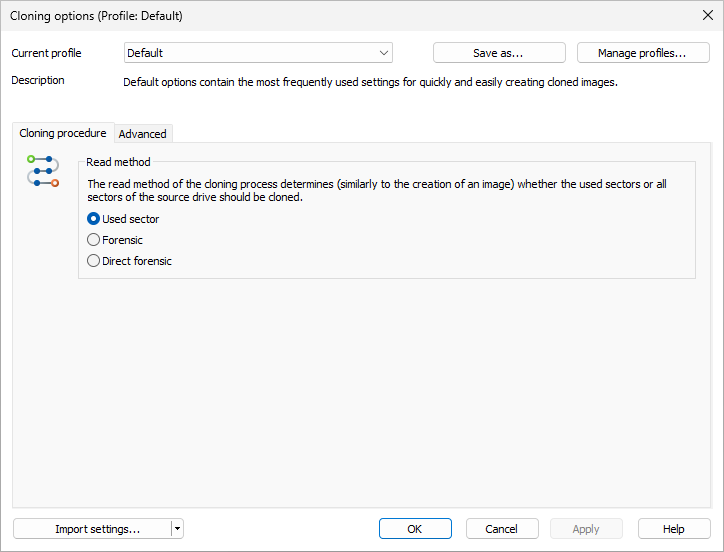
Select the imaging method
Under Drive operation/Imaging options/Image file you can specify which imaging method should be applied as standard to every new image. In most cases, the default option Used sector is recommended.
Used sector imaging
Using this imaging method will limit the imaging process to only used sectors on a drive. This method will let you save time, computer performance, and disk space. Used sector imaging is set in the program by default.
Image of the changes
If you only want to save changes made since the last imaging, select Image of the changes as method under Imaging options. This will allow you to create an image that saves only those changes that have occurred since the last base image.
While creating an image of the changes, O&O DiskImage compares each sector of the existing image with the corresponding sector of the disk(source)being imaged. This might require more time than a complete image. An image of the changes, however, takes up much less space than a complete image.
If you want to create an image of the changes, you must have created at least one complete image of each drive that can then serve as a base image. Afterwards, the image of the changes you've created can also serve as a new base image.
The option Use checksums to administer unchanged data is always set by default. The last incremental/differential image created is enough to serve as the base image when creating an Image of the changes. If Use checksums to administer unchanged data is not set, you will need the last base image and all existing incremental images because these must be accessed as part of the imaging process.
Forensic imaging
This imaging method is especially useful when creating images of non-supported file systems or when, for example, you would like to recover deleted data from a source drive using special data recovery software. With this method, an exact sector-level copy of the source drive is made. By saving all sectors of a partition or drive, the unoccupied and deleted portions of file systems can be imaged in their entirety.
Direct forensic
Please note that direct forensic imaging of an active operating system is only possible if our snapshot driver is installed. It will otherwise not be possible to create a consistent image.
Direct forensic imaging is a special case. The difference, however, lies in data being read over deep system interfaces. As with regular forensic imaging, a complete copy of a source drive will be created. This makes it possible to, among other things, image an encrypted hard disk using encryption software.
Please note that direct forensic imaging is intended for imaging encrypted disks using encrypted data. This data remains encrypted even after the image is restored. If the source drive being used is an encrypted drive, only sector-based restoration is possible. The file-based restoration or browsing of such an image is not possible. In addition, spanned volumes (stripped/spanned) are also excluded from this, since the logical link here between the regions is taken over by the operating system. Direct forensic imaging makes no sense if the drives are not encrypted. Here we recommend forensic imaging because all sectors of the drive, including the sectors marked as free, will be included in the image.
Specify the size of an image file
An image can be split into multiple image files. If a disk doesn't have enough space to contain a full image of your selected drives, you will automatically be requested to enter another target location. It is also possible to manually set the maximum size of an image file before creating the image. If the image being created is larger than the entered file size, additional image files will be created.
This function is especially useful when you plan to burn your image onto a CD/DVD at a later time. Sometimes a CD/DVD is not large enough to contain the entire image file. We recommend your limiting image files to the size of the blank CD/DVD onto which you will be writing your images.
The image file can also be split at a later time using the Convert image file function. It is, however, recommended to split images at the time they are created to avoid any confusion that may arise.
Under Drive operation/Imaging options/File size/Split image into smaller files with fixed sizes you can specify the size of individual image files.
Encryption
Your data can be securely encrypted using the recognized AES method. This permits O&O DiskImage to provide your image with an extremely high level of security with a key length of up to 256 bits.
You can select the encryption level for your files under Drive operation/Imaging options/Image file/Security. If you then start the imaging process (Drive imagings), enter a password when being prompted.
A belated encryption of the image is possible under Convert image file.
Compress the image
Under Drive operation/Imaging options/Image file you find the settings Compress image file to save storage space. You can choose from the LZNT1 Standard or theBZIP2 process.
**LZNT1:**This is a compression type based on the Lempel-Ziv algorithm, which is laid out on a real time application. Speed is preferred over the rate of data compression.
BZIP2: is a block type compression process. Compression rate is preferred over velocity.
You can also compress the image after creation under Convert image file in the Tools menu.
Compression increases the time required to create an image file. However, the file then requires less space on the disk.
Exclude files from an image
Several minutes may be needed for excluding files, depending on the amount of data on the hard disk.
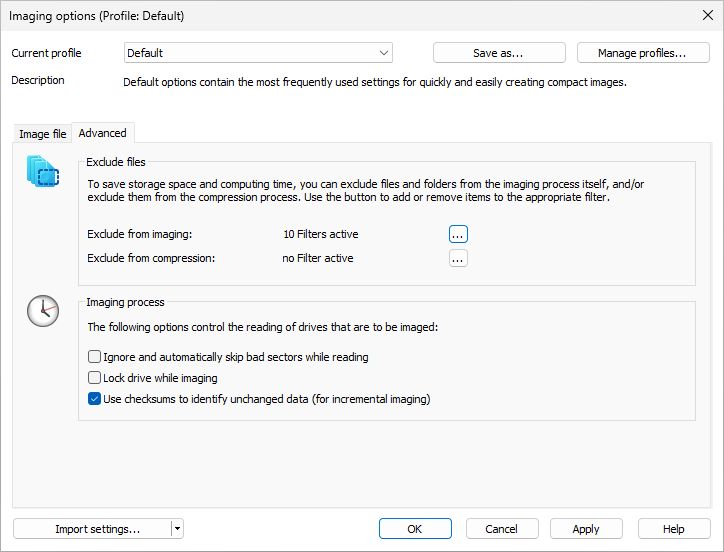
When using the imaging method Used Sector Imaging you have the option of excluding data from the image or compression. Please follow these instructions for excluding data:
- Enable the check next to the drive to be imaged under Drive operation.
- Make sure you have selected the method Complete/only used sectors under Imaging options.
- In the Imaging options click on Advanced and open the dialogue to exclude files in Exclude from imaging.
- In the right hand window select the files and folders you wish to exclude from the imaging and confirm this with Add. Only the data on your selected drives will be excluded.
- You can close the window after your settings are made. The changes you made will then be applied.
Exclude data from compression
Data that is already compressed, e.g. *.rar or *.zip files, will not be compressed any further during the imaging process and so may be excluded from compression. To exclude data from compression, please follow the procedure laid down in Exclude files from an image.
Lock a drive
You can lock the drive you wish to image during the imaging process. This prevents any changes being made to the drive while the image is being created. The drive will no longer be displayed in Explorer and all applications will be closed. The drive is not locked by default.
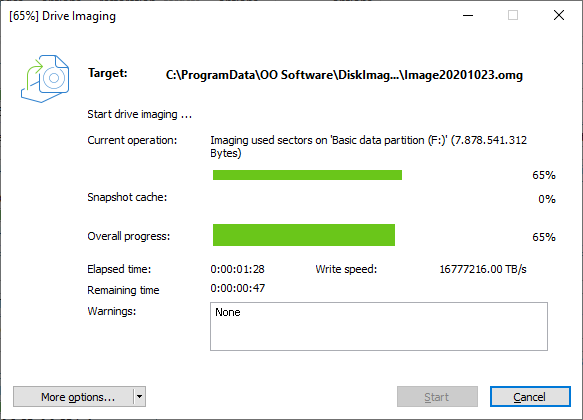
To lock a drive, under Drive operation/Imaging options/Advanced select Imaging procedure/Lock drive during imaging.
If you leave a drive unlocked during an imaging because, for instance, you want to continue working on the drive, the original status will be “cached”, i.e. stored in the working memory buffer. The working memory buffer space is, however, limited. You can see how much space is available by looking at the memory buffer display.
It is not possible to lock a system partition. If you want to prevent temporary files from being written onto a particular drive, enter the entry NoSnapshotTmpFiles in the Registry. More information can be found in the chapter Explanation of registry entries.
Please note:
If you exceed the available working memory, original data sectors will no longer be saved and included in the image. This makes the image inconsistent and may render it unusable. In this case, after imaging, you should mount the image (Mount the image as a drive) and check its accuracy.
To avoid overloading the memory buffer, close or stop all write procedures on the source drive: for example, running a defragmentation.
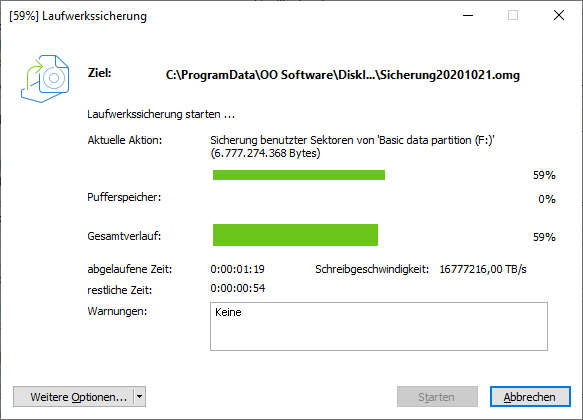
Ignore bad sectors
You can specify under Drive operation/Imaging options/Advanced whether the read process should be aborted or continued in case of error. If continued, the bad sector will be saved in the image as an unused sector. The remaining data that is still readable will then be available in the image.
- Enable the check for Ignore and automatically skip bad sectors while reading.
Data comparison with checksums
Unchanged data resulting from incremental images is saved using checksums by default. Such a file will be slightly larger. That's why it's enough, when creating the next incremental image, to use an existing incremental image (with checksums) as the base image. This function is activated by default. If you save all images in a single folder, you can deactivate this function. Your images will then take up less space on disk.
- Please make sure that the function Use checksums to administer unchanged data under Drive operation/Imaging options/Advanced is enabled.
Use profiles for drive imaging
Under Drive operation/Imaging options/Current profile you can reset current settings to Default, or select an already existing profile.
Under Current profile you can select a preset Multimedia or Archive profile. The Multimedia profile automatically excludes already compressed music and video data (i.e. *.avi, *.mp3, *.mpeg) from the compression. The Archive Profile excludes other compressed data such as *.zip or *.rar.
If you would like to save your user-defined settings, please follow these instructions:
- Enable your settings under Drive operation/Imaging options.
- Select under Save as....
- Give your newly created profile a name in the dialog window and confirm.
- Under Manage profiles you can change or delete an existing profile.