Quick start
After installing O&O DiskImage, you have various options to securely back up and restore your data when needed. This guide will take you through the basic steps from initiating the program to conducting your first backup.
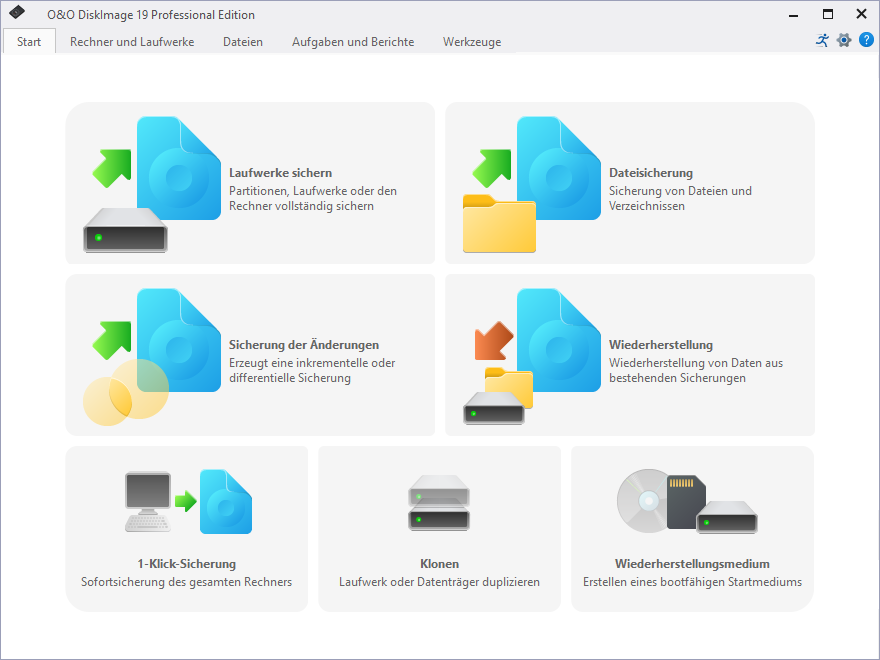
Starting O&O DiskImage
- Open O&O DiskImage via the desktop shortcut or through the Windows Start menu under Start Menu/O&O DiskImage.
- For a quick and easy operation, select the O&O DiskImage Express option, which provides a simplified view.
- The O&O DiskImage Tray icon in the system tray provides quick access to status information and frequently used functions.
Creating a Backup
- Select the Create Backup option in the main window of O&O DiskImage.
- Select the drive or files you want to back up.
- Set the destination for the backup file, such as an external hard drive, a network drive, or cloud storage.
- Start the backup process by clicking on Start. The duration of the process depends on the size of the data and the speed of your storage media.
Restoring a Backup
- Open the main window and select Restore.
- Navigate to the backup file you want to use.
- Select the specific data or drive you want to restore.
- Begin the restoration by clicking on Restore and follow the instructions to safely restore your data.
Accessing the Program Help
- You can access the help at any time via the Help menu in the menu bar or by pressing the F1 key.
Ensure that your backup targets have sufficient storage space and are regularly checked to maintain the integrity of the backups.
This Quick Start Guide provides you with the essential steps to work quickly and safely with O&O DiskImage. With just a few clicks, you can back up your important data and restore it effortlessly when needed.
Image individual drives
With O&O DiskImage, you can back up individual drives (partitions/volumes), allowing you to separately secure system and data drives. In the event of data loss, this means only the affected data drive needs to be restored, without the necessity for a full system restoration.
How to Back Up One or More Drives
- Select Drive Backup from the home page.
- In the drive list, select one or more drives you want to back up and activate the corresponding checkbox.
- Optional: Under Backup Options, you can make additional settings or schedule the backup as a regular task.
- Choose Start Drive Backup to proceed to the next step.
- Specify the destination path where the backup will be stored. You can either use a suggested default path or choose a custom location. Through the Program Settings, you can also set up an individual default path.
- By default, the backup is named after the date of creation, but you can also enter a custom name. All information of the backup is saved and can later be accessed via the backup information.
- Click on Start to create the backup.
If the storage medium is insufficient to store the backup completely, you will be prompted during the backup process to specify a new destination path.
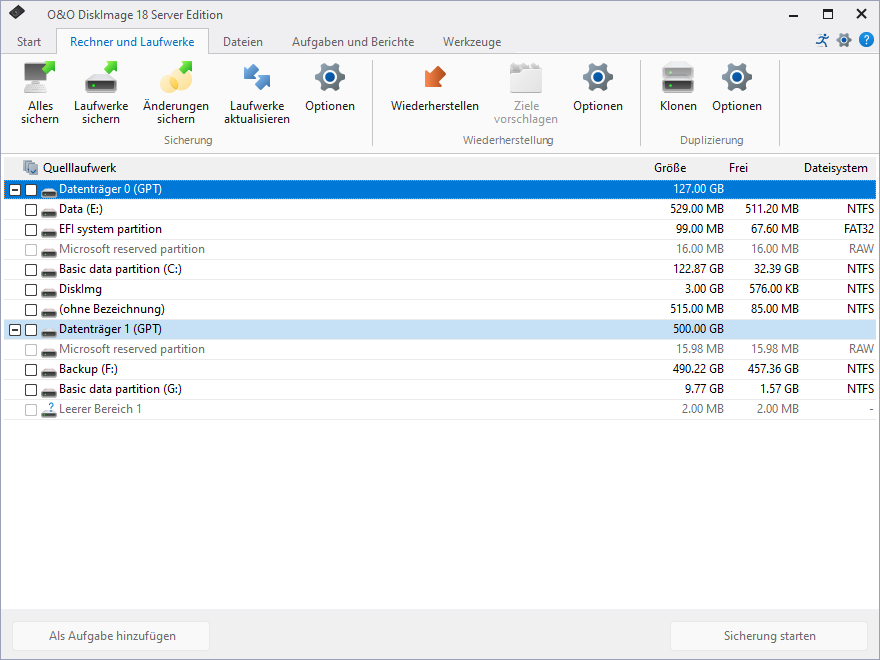
Backing Up Individual Drives (Server Edition)
Drive List
The drive list slightly differs in the Professional Edition compared to the Server Edition. This is merely a design decision; the functionality of both editions is the same at this point.
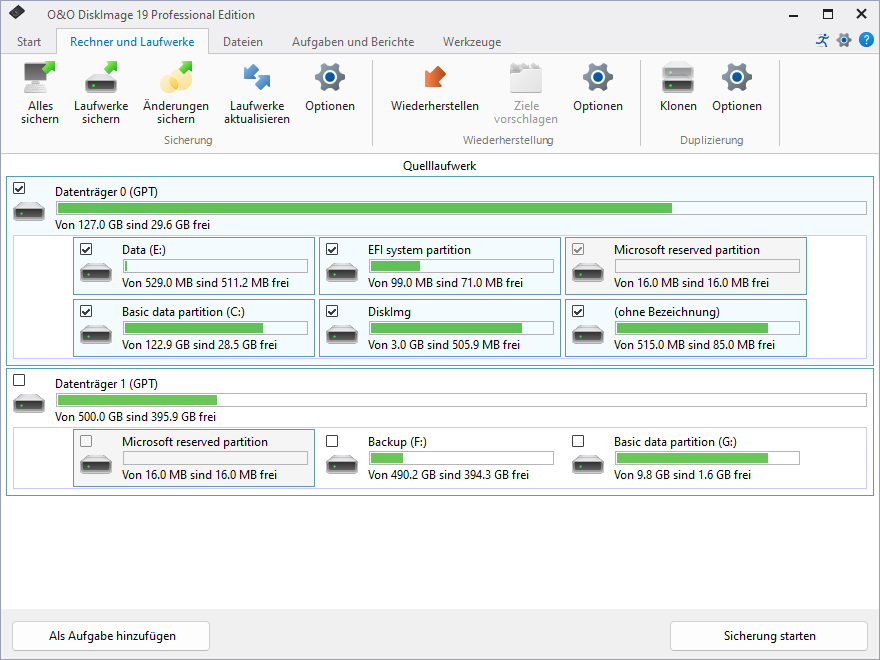
Backing Up Individual Drives (Professional Edition)
Image the entire computer
The One-Click Backup is the fastest and easiest way to perform a backup of your computer, including all your data and settings. This method is particularly suitable if you are using O&O DiskImage for the first time or have not yet created a backup of your computer. The One-Click Backup secures your entire computer, including the system partition, with pre-set compression (LZNT1) and backup method (Backup Used Sectors).
We recommend using an external storage medium, such as a USB hard drive or a network drive, as the destination directory for the One-Click Backup.
- Start O&O DiskImage and select Backup Drives from the homepage.
- Click on the Backup Computer icon in the action window.
- Check the destination path and adjust it if necessary. Use the [...] button to navigate to any directory.
- The backup will automatically be named after the creation date, but you can also manually enter any name.
- Click on Start to begin the backup process. The process may take some time depending on the size of the disk(s).
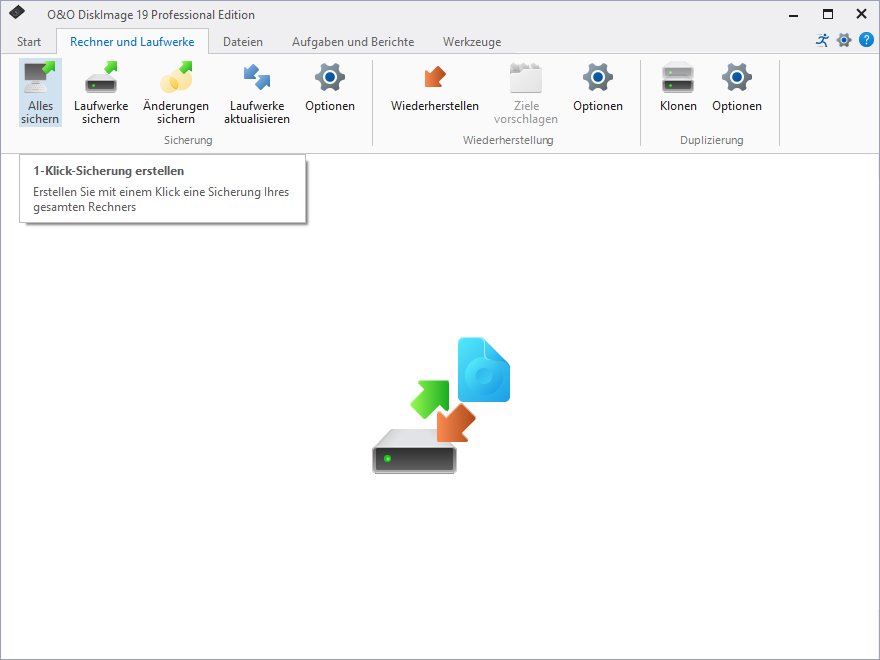
Backing Up Entire Computer
Restore the entire computer
To restore your entire computer or the system partition, you must run O&O DiskImage from a bootable medium. Follow the instructions in the chapter Directly Boot from a Bootable Disk.
For restoring a backup to a computer equipped with different hardware than the original, please refer to the guidelines in the chapter Restoration on Dissimilar Hardware (M.I.R.).
- Launch O&O DiskImage directly from the boot medium.
- On the homepage of O&O DiskImage, select the option Restore.
- Click on Restore or use the browser button to navigate to the location of the backup.
- Select the desired backup that contains the system partition or all drives of your computer and click on Open.
- All drives included in the backup will be displayed in the drive list.
- Check the box next to the drives from the backup that you wish to restore. If you want to restore your entire computer, check all drives.
- Select your target drive where the data from the backup will be overwritten.
- Click on the Start Drive Restoration icon to begin the restoration process.
- After successful restoration, you can restart your computer as usual.
Be aware that starting from Windows Vista under Windows PE, drive letters might be displayed differently: Drive C: (usually contains the inactive operating system) might be assigned a different letter, such as D:, under Windows PE.
Clone drives
If you need to replace a storage device with a new one, cloning (duplicating) is recommended. This method combines backup and restoration in one step. Cloning can be file-based or forensic. In file-based cloning, all recognized data is transferred to the target. This method is usually sufficient for most cases.
If the disk to be cloned contains a file system that is not supported by O&O DiskImage, or if you wish to perform data recovery, forensic cloning is recommended. This method transfers every sector from the source to the target, which can be time-consuming and computationally intensive.
Cloning allows for the creation of copies of complete disks or individual drives, which can then be used instead of the originals. This function enables you to copy a disk or partitions with all the data stored on them without generating backup files. The original drives or source drives remain unchanged, preserving their current state.
Please note that cloning a drive requires significantly more storage space than a backup. Unlike a backup, a clone cannot be used to perform incremental or differential follow-up copies to reduce data volume. Furthermore, unlike backups, a clone cannot be compressed or encrypted.
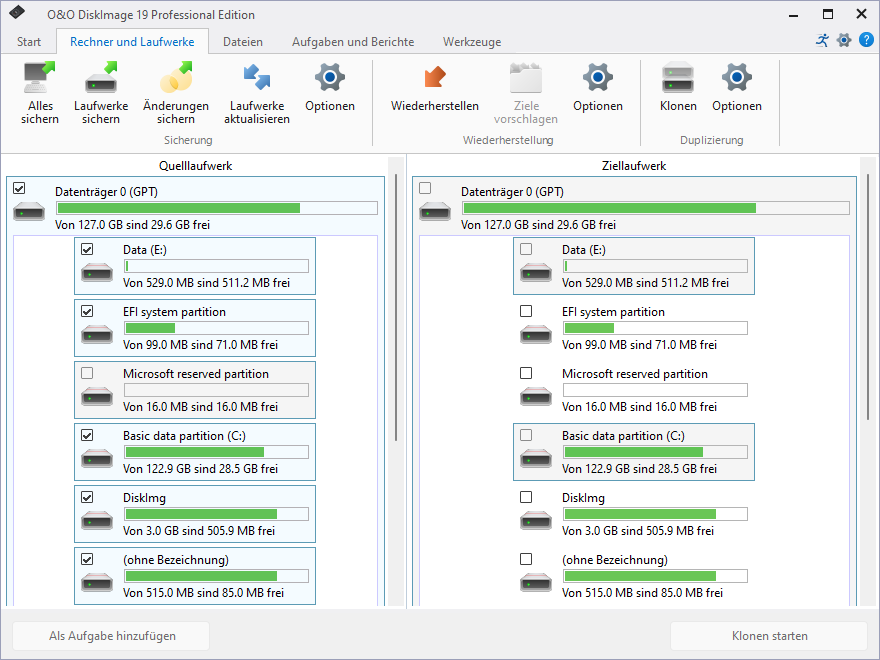
Cloning Drives
Restore drives
To restore one or more drives from an image, proceed as follows:
- If you want to restore one or more drives from an existing image, click Drive restoration on the O&O DiskImage start page.
- Select the image you want to restore in the DropDown list of Select image. If the proposed images (*.obk) are not the ones you want to restore, check your drives and enter the path to the image file.
- Select the image file (*.omg, *.vhd, or *.vhdx) from the browser and click on Open.
- All drives contained in the image will then be displayed.
- Click the drive that you want to restore ("play back").
- Then, select the target drive for restoration by checking the box next to it. You can either replace an existing drive or create a new one: for example, in an empty sector.
- Optionally, you can specify further settings for the restoration under Restoration options.
- Whenever you have specified all settings, click on Start drive restoration to start the restoration.
During restoration, the image overwrites your selected drive with the data of the drive contained within the image. All data saved on the target drive is thereby lost and replaced by that of the image.
If your image is split among various disks, all these disks will be required for a restoration. If you have created an incremental image, all images - from the last complete image to the last incremental image - will be needed.
If you have imaged an entire hard disk and the restoration is run on a different hard disk, then the new hard disk must possess at least as much space capacity as the source hard disk.
If you want to restore an entire system or system partition, you'll need to start your computer with the O&O DiskImage bootable medium and perform the restoration from there, see Start directly from the bootable disk. If you should run a restoration of the system partition to different hardware, read the chapter: Restoration on different hardware.
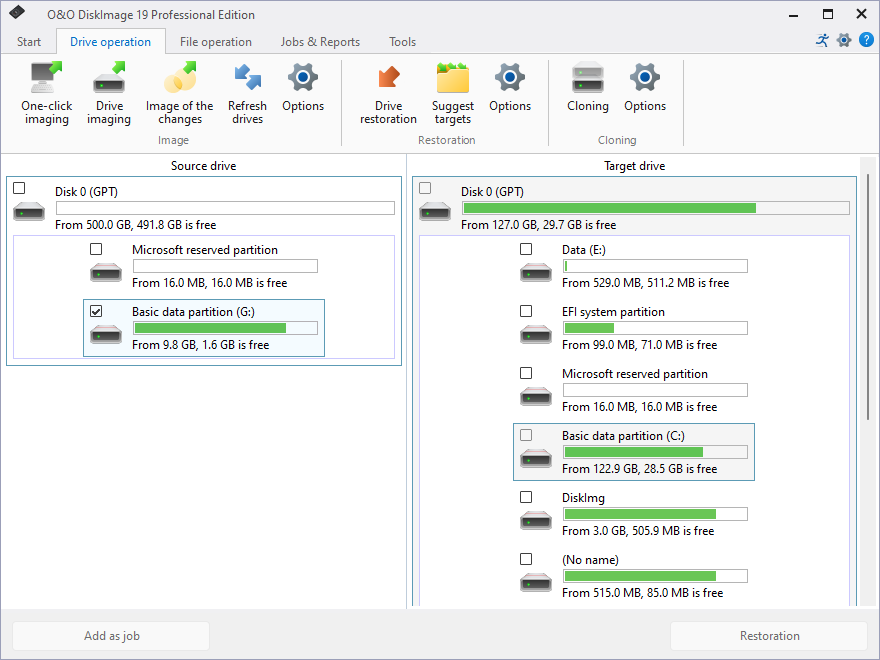
Restore drives
O&O DiskImage RecoveryPartition
O&O DiskImage saves the recovery environment directly on the computer, so that in the event of a system failure, it can be booted directly from there, naturally including the latest backups.
If the Windows operating system does not start, or faulty drivers need to be uninstalled, the integrated recovery environment provides all the tools from O&O to get the system up and running as easily as possible.
For more information, please visit: Create New O&O DiskImage RecoveryPartition
Image the changes only
If you want to save only the changes made since the last backup, you can perform a Backup of Changes. You must have previously created at least one full backup of the respective drives or directories.
Backing Up Drive Changes
The starting point for the backup can be either a full backup or a previous incremental/differential backup.
- Ensure your computer can access the drive with the base backup.
- Start O&O DiskImage and select Backup of Changes from the home page.
- In the explorer window, select your base backup and click Open.
- You can choose the suggested directory for storing the backup or specify a new target path. The backup will automatically be named after the creation date, but you can also manually enter a name.
- Click on More Options if you wish to make additional settings, or Start to begin the backup process.
In a Backup of Changes, O&O DiskImage compares each sector of the existing backup with the corresponding sector of the source disk. This method can take more time but generally requires significantly less storage space than a full backup.
The Data comparison with checksums option is always enabled by default; for incremental backups, the last backup suffices as the starting point.