Tools
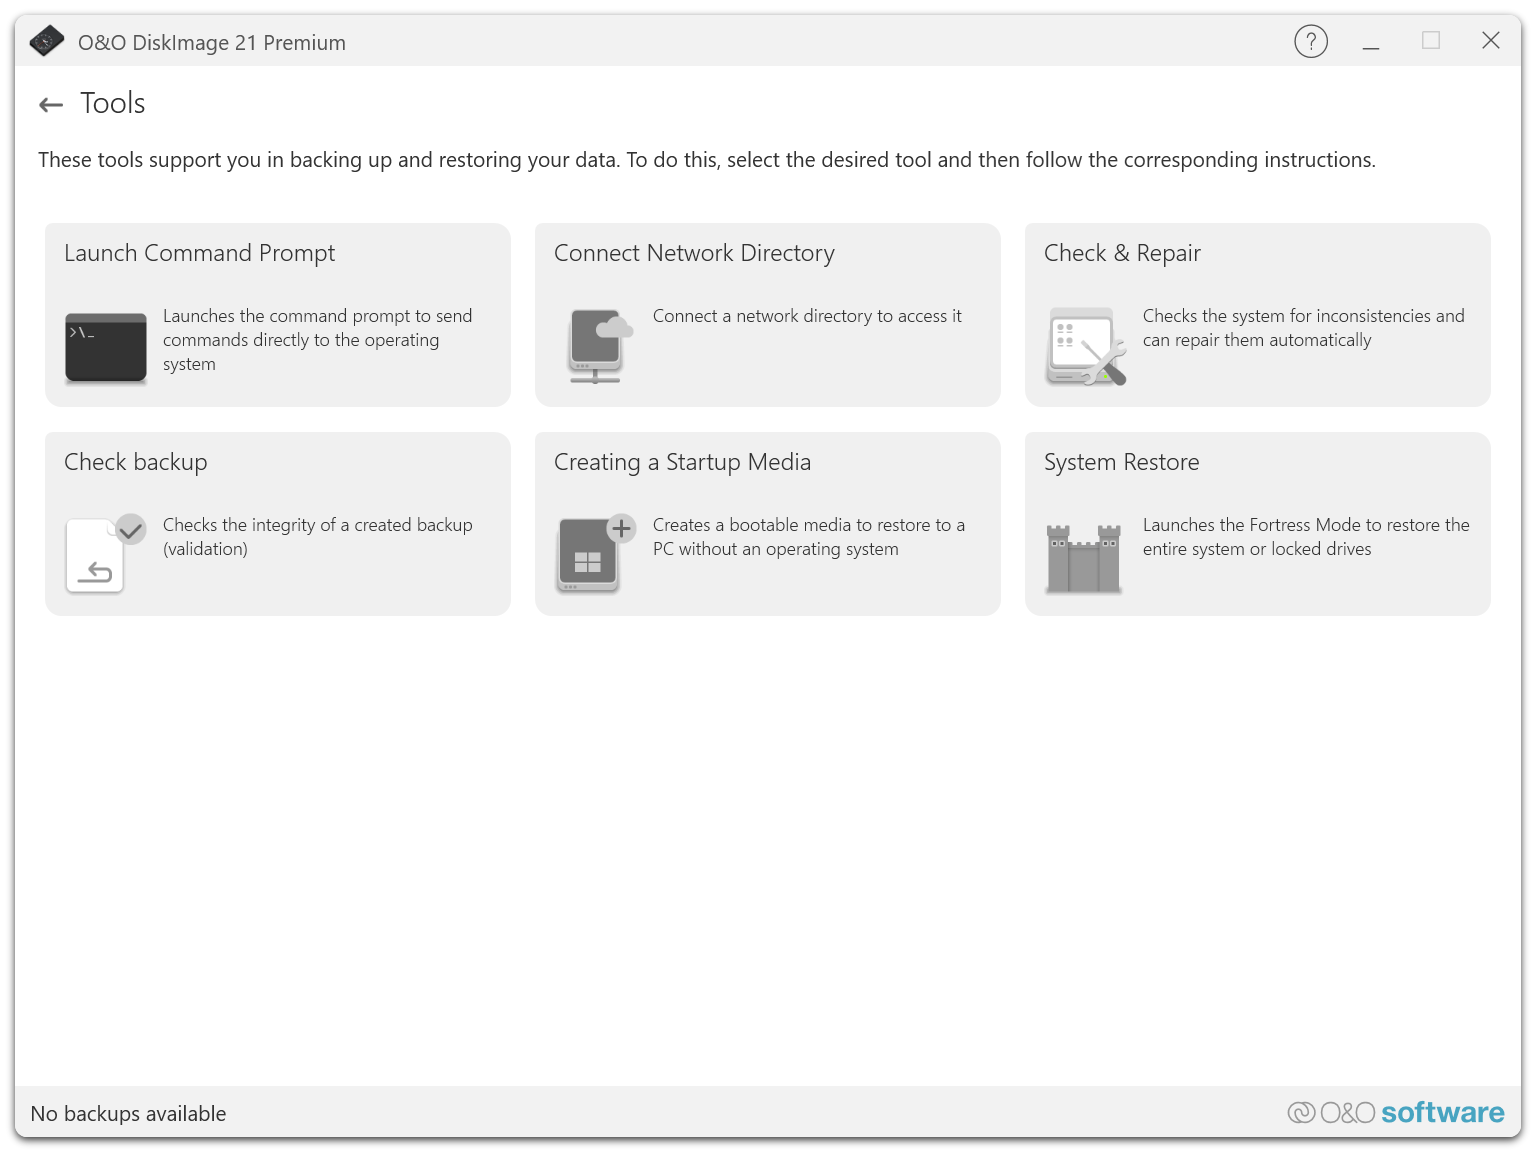
Launch Command Prompt
The Launch Command Prompt option in O&O DiskImage 21 Premium allows you to open a command-line interface where you can execute advanced commands directly on your operating system. This function is especially useful for experienced users who want to perform specific system configurations or troubleshoot issues.
Using the Command Prompt
When selecting this function, the Command Prompt (CMD) window opens. Here, you can enter various commands to change system settings, retrieve system information, or manage services.
Examples of useful commands:
chkdsk: Checks the file system and the condition of the hard drive for errors. Example:chkdsk C: /frepairs found errors on drive C.sfc /scannow: Starts the System File Checker, which scans and attempts to repair corrupted system files using correct versions.diskpart: A powerful disk partitioning tool. Withlist disk, for example, you can display all disks, and withselect disk 1andclean, prepare a drive for reformatting.ipconfig /all: Displays all network configuration values including IP address, subnet mask, and default gateway.
Safety Precautions
Be careful when using the command prompt, especially with commands that alter system settings or delete data. Make sure you understand what a command does before executing it.
Using this feature purposefully allows you to manage your system effectively and resolve issues directly at the operating system level.
Connect Network Folder
This function allows you to connect to a shared network folder, giving you direct access to backup files or other data stored on a NAS or shared folder structure. This enables you to efficiently integrate centralized storage solutions into your backup strategy.
Steps:
- Open O&O DiskImage and go to the Tools section.
- Select the Connect Network Folder option.
- Enter the network address of the shared folder and, if necessary, provide login credentials (username and password).
- Confirm the connection. The connected folder will now appear in your directory list and can be used as a backup destination or source for recovery files.
Ensure that the network folder is always accessible and has sufficient permissions to access all required files.
Check & Repair
The Check & Repair function allows you to check and repair damaged backup files. This tool scans the system for inconsistencies and can automatically correct them. Please note that the process may take several minutes depending on disk usage and the type of storage device.
Check & Repair Options
- Check component store: Scans the Windows component store for corruption and ensures integrity.
- Check system files: Analyzes system files for correctness and repair needs.
- Drive check: Inspects physical and logical sectors on the drive for errors.
- Check Windows Recovery Environment: Ensures that the Windows Recovery Environment (Windows RE) is working properly and is error-free.
These checks are essential to ensure the reliability of your backups and to confirm that your data can be fully and correctly restored when needed.
Verify Backup
The Verify Backup function allows you to validate the integrity of a created backup. This verification ensures that the backup file is complete and free of errors, reducing the risk of data loss during recovery.
Steps:
- Open O&O DiskImage and go to the Tools section.
- Select Verify Backup.
- Choose the backup file you want to verify.
- Start the verification. The system will analyze the file for inconsistencies or errors.
- Once the verification is complete, you will receive a summary of the results.
Verifying a backup may take additional time depending on the size of the file and system performance.